 Everyday
  About Company
 Refund Policy
 Privacy Policy
 Terms And Conditions
 Support
 Open Ticket
 Contact Us
 Knowledgebase
 News
News

Learning how to set up your laptop for school or work is very different from configuring one for casual use. You need it organized, efficient, and ready to handle whatever your professor or boss throws at you. A sloppy setup leads to lost files, missed deadlines, and that panicked feeling when you cannot find the document you need five minutes before a meeting.
This guide covers everything: the apps you need, how to organize your files, a cloud backup strategy, security basics, and productivity tricks that make your daily workflow smoother. If you are still shopping, start with our guide to the best budget laptops of 2026 to find a machine that fits your studies or job.
Step 1: Handle the Basics First
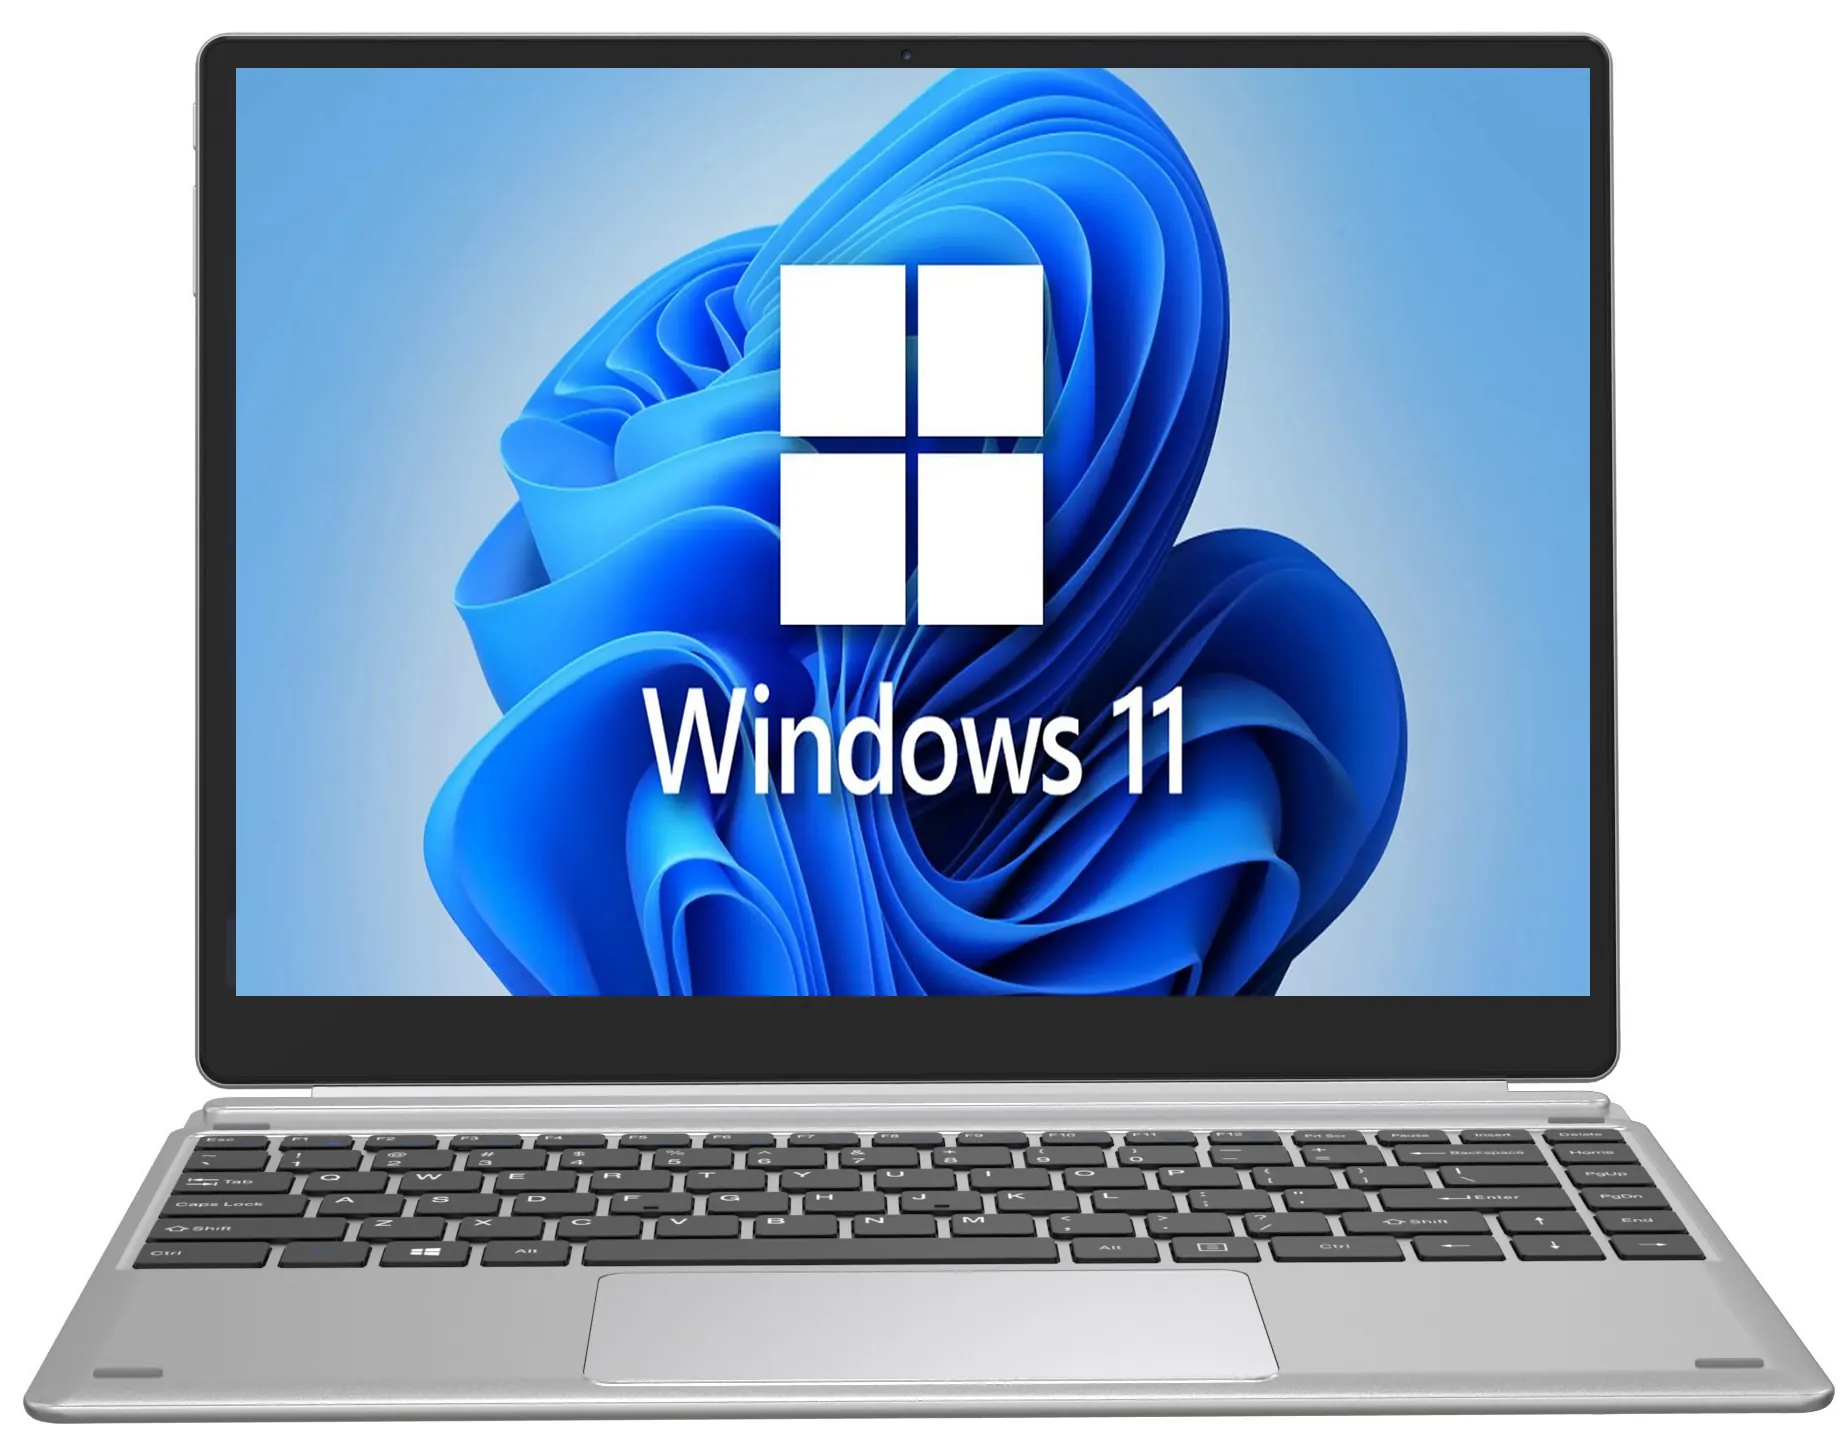
Before you get into school or work-specific setup, knock out the universal stuff. Run Windows Update, remove pre-installed bloatware, and turn on Windows Security. Getting these fundamentals out of the way first means the rest of your setup stays fast and stable. Come back here once the basics are done.
Step 2: Set Up Your School or Work Accounts
Most schools and companies provide email accounts through Microsoft 365 or Google Workspace. Set these up first because they unlock a cascade of other tools.
For Students
- Sign into your school email — this usually gives you free Microsoft 365 (Word, Excel, PowerPoint, OneDrive with 1TB storage)
- Check if your school provides free access to specialized software (many offer Adobe Creative Cloud, MATLAB, or SPSS)
- Set up your school's learning management system (Canvas, Blackboard, or Moodle) as a bookmarked tab or install their app
- If your school uses a VPN for accessing library resources or internal systems, install and test it now
For Work
- Sign into your company email and calendar (Outlook or Gmail)
- Install required communication tools — usually Microsoft Teams, Slack, or both
- Set up any VPN or security software your IT department requires
- If your company uses a password manager (LastPass, 1Password, etc.), install it and import your work passwords
- Configure your email signature with your name, title, and contact info
Step 3: Install the Right Apps
Here is a focused list of apps that genuinely matter for school and work. You do not need dozens of tools — just the right ones.
Essential for Everyone
- A good browser — Chrome or Firefox. Sign in to sync your bookmarks and passwords.
- Bitwarden — Free password manager. You will have dozens of accounts for school or work. Do not try to remember them all.
- Notion or OneNote — Digital notebook for meeting notes, project planning, and random ideas. OneNote is free with Microsoft 365; Notion's free plan is excellent.
- A cloud storage sync app — OneDrive (comes with Windows), Google Drive, or Dropbox. Set it to sync your Documents folder automatically.
For Students Specifically
- Grammarly — Free tier catches grammar and spelling issues in essays. Works as a browser extension.
- Zotero — Free reference manager for research papers. Saves citations from websites and generates bibliographies automatically.
- Anki — Flashcard app with spaced repetition. The most efficient way to study and retain information.
- Focus To-Do — Pomodoro timer combined with a task list. Keeps study sessions productive.
For Work Specifically
- Todoist or Microsoft To Do — Task management that actually sticks. Todoist's natural language input ("Submit report every Friday at 3pm") is addictive.
- ShareX — Screenshot and screen recording tool. Perfect for creating documentation, reporting bugs, or showing a colleague how to do something.
- PowerToys — FancyZones lets you snap windows into custom layouts for multitasking.
Resist the urge to pile on software. Stick to free, reputable tools from official sources and skip the dozens of extras you will never open — a lean install stays faster and more secure over time.
Step 4: Organize Your File System
This is where most people fail. They dump everything on the Desktop or in the Downloads folder and wonder why they can never find anything. Set up a proper folder structure from day one.
For Students
Create a folder for each semester, then subfolders for each class. Inside each class folder, create subfolders for Notes, Assignments, Projects, and Readings — for example, Documents/Fall 2026/BIO 301/Assignments/. Use a consistent naming convention like BIO301_Assignment3_Draft.docx so you can find files instantly.
For Work
Mirror your company's shared drive structure locally if possible. At minimum, create folders for Projects, Clients (or Departments), Templates, and Archive. Date-stamp important files or use version numbers. Move completed projects to the Archive folder quarterly so your active workspace stays clean.
Step 5: Set Up Cloud Backup
Losing a term paper the night before it is due or a client proposal before a deadline is a preventable disaster. Configure automatic cloud backup:
- Open Settings → Accounts → Windows backup.
- Turn on folder syncing for Desktop, Documents, and Pictures.
- If your school gives you 1TB OneDrive, use it. If your workplace uses Google Drive, install Google Drive for Desktop and set it to mirror your key folders.
- Test the backup by creating a file, waiting a minute, then checking that it appears in the cloud from another device.
Step 6: Optimize for Productivity
A few tweaks can make a noticeable difference in how productive you are:
- Enable Focus Assist — Go to Settings → System → Focus. Set up automatic rules to block notifications during class hours or work hours.
- Pin essential apps to the taskbar — Your browser, email, file explorer, notes app, and calendar should be one click away.
- Learn keyboard shortcuts — Win+E opens File Explorer, Win+V opens clipboard history, Win+Shift+S takes a screenshot, Ctrl+Shift+T reopens a closed browser tab. These save minutes every day.
- Set up multiple desktops — Press Win+Tab and create separate desktops for School/Work and Personal. Keeps your workflow mentally separated.
- Adjust Night Light — Settings → Display → Night Light. Schedule it to activate in the evening to reduce blue light and eye strain during late study sessions.
Step 7: Lock Down Security
This step is especially important if you carry your laptop to campus or a coworking space:
- Set up Windows Hello with fingerprint or face recognition for fast, secure login.
- Enable Find My Device in Settings → Privacy & security so you can locate or lock your laptop if it is lost.
- Turn on BitLocker encryption (available on Windows 11 Pro) to protect your data if the laptop is stolen.
- Never save passwords in plain text files — use a password manager.
- If you use public Wi-Fi frequently, install a VPN like ProtonVPN (free tier available).
What Specs Do You Actually Need?
If you are reading this because you are still choosing a laptop, here is the short version: for most school and office work, 8GB RAM and a 256GB SSD is the practical minimum. For heavier workloads like video editing, data analysis, or running virtual machines, aim for 16GB RAM and a 512GB SSD. For a deeper breakdown, read our laptop specs explained for beginners and our guide to how much RAM you actually need.
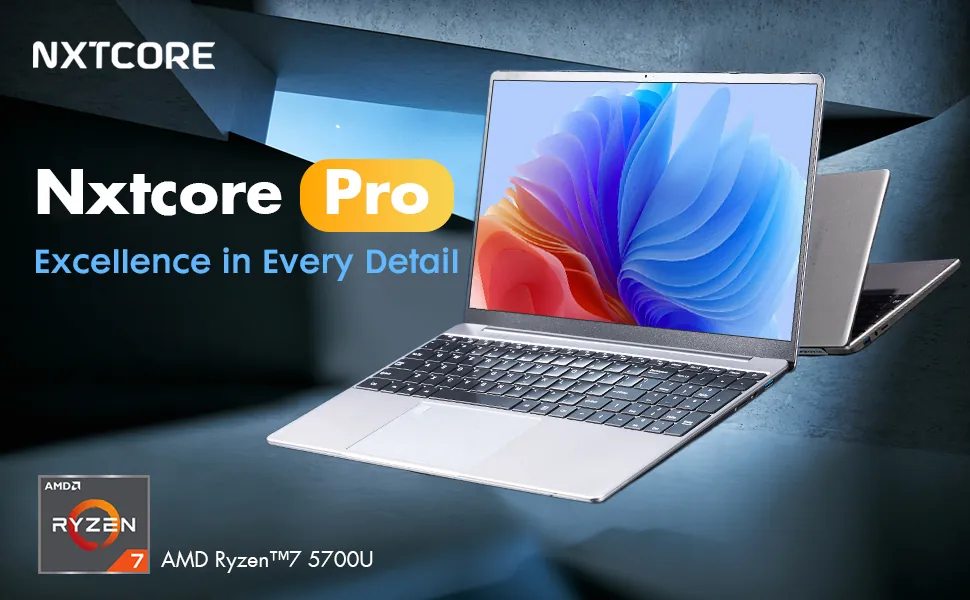
NXTCORE offers affordable laptops at every level. The NXTCORE Lite G141J-N5095 at $199 handles school basics like documents, web browsing, and video calls with ease. For more demanding work, the NXTCORE Pro G1568-R7 at $459 is built around an AMD Ryzen 7 5700U (8 cores / 16 threads) and can be configured with up to 32GB of DDR4 RAM and up to 2TB of NVMe SSD storage, leaving plenty of headroom for heavier workloads. Across the range, NXTCORE's lineup spans $179 to $899, averaging about $396.
You Are Ready
A well-set-up laptop is a productivity multiplier. Take an hour now to organize, install, and configure things properly, and you will save countless hours of frustration throughout the semester or fiscal year. The goal is to make your laptop work for you, not to fight with it every time you sit down to get something done.
Frequently Asked Questions
What is the first thing to set up on a new school or work laptop?
Start with the basics: run Windows Update, remove bloatware, and enable Windows Security. Then sign into your school or work email (Microsoft 365 or Google Workspace), which unlocks the rest of your tools.
How much RAM do I need for school or work?
For documents, browsing, video calls, and everyday office tasks, 8GB is the practical minimum. If you edit video, analyze large datasets, or run virtual machines, choose 16GB. See our full guide on how much RAM you actually need.
Which affordable NXTCORE laptop is best for students?
For coursework, browsing, and video calls, the NXTCORE Lite G141J-N5095 at $199 is a strong value pick. If you want more headroom, browse the full everyday laptops range or read our best budget laptops for students roundup.
How do I back up my laptop for free?
Use built-in cloud sync. Turn on OneDrive folder backup for Desktop, Documents, and Pictures, or install Google Drive for Desktop and mirror your key folders. Most school and work accounts include generous free storage.
Need an affordable laptop that is ready for school or work? Browse NXTCORE's affordable everyday laptops or explore the full NXTCORE lineup — every machine ships with a clean Windows install and the specs to handle real workloads without breaking the bank.