 Everyday
  About Company
 Refund Policy
 Privacy Policy
 Terms And Conditions
 Support
 Open Ticket
 Contact Us
 Knowledgebase
 News
News

How to Transfer Files From Your Old Laptop to a New One
Getting a new laptop is exciting. Realizing all your files are still trapped on the old one? Less exciting. Whether it is years of family photos, important work documents, or that one folder of music you have been curating since high school, getting everything moved over does not have to be stressful. The good news: you can transfer files from your old laptop to a new one in just a few straightforward steps.
There are several ways to transfer files, and the best method depends on how much data you have and what tools are available to you. We will walk through five different approaches, from the simplest to the most comprehensive, so you can pick the one that fits your situation.
Before You Start: Know What to Transfer
Before moving anything, take a few minutes to think about what you actually need. You probably do not need to transfer everything, and this is a great opportunity to declutter.
Definitely Transfer
- Documents (Word files, PDFs, spreadsheets)
- Photos and videos
- Music library
- Desktop files and downloads you want to keep
- Browser bookmarks and saved passwords (these sync automatically if you sign into Chrome, Firefox, or Edge)
- Any project files or work folders
Skip These
- Installed programs, since most need to be reinstalled fresh on the new machine anyway
- Temporary files and cache
- Old downloads you never opened
- Duplicate photos and files (use this as motivation to clean up)
Method 1: USB Flash Drive (Best for Small Transfers)
The simplest method and the one most people default to. It works great if you have less than 64GB or so of files to move.
- Plug a USB drive into your old laptop.
- Open File Explorer and navigate to the files you want to transfer.
- Copy the files to the USB drive. For large batches, select everything and use Ctrl+C, then Ctrl+V on the USB drive.
- Safely eject the drive (right-click the USB icon in the system tray, then Eject).
- Plug the USB drive into your new laptop.
- Copy the files to their new locations.
Pro tip: Use a USB 3.0 or higher drive. USB 2.0 transfers at roughly 30 MB/s, which is painfully slow for anything more than a few gigabytes. A USB 3.0 drive transfers at 100-300 MB/s, cutting transfer time dramatically.
Method 2: External Hard Drive (Best for Large Libraries)
If you have hundreds of gigabytes of photos, videos, or music, a USB flash drive will not cut it. Use a portable external hard drive or SSD instead.
- Connect the external drive to your old laptop.
- Copy your entire Documents, Pictures, Videos, Music, and Desktop folders to the drive.
- Safely eject and connect to your new laptop.
- Copy everything to the corresponding folders on the new machine.
A 1TB portable SSD typically costs about $60-80 and transfers files at 500+ MB/s over USB 3.2. It is worth having even after the move, since it doubles as a backup drive. If you are not sure how much storage or memory your next machine should have, our beginner-friendly breakdown of laptop specs explained for beginners covers exactly what matters.
Method 3: Cloud Storage (Best for Automatic Sync)
If your files are already syncing to OneDrive, Google Drive, or Dropbox, this is the easiest method by far. Just sign into the same account on your new laptop and your files appear automatically.
- On your old laptop, make sure all important files are inside your cloud-synced folder and fully uploaded (check for the green checkmark icon).
- On your new laptop, install the same cloud storage app (OneDrive is already built into Windows).
- Sign in with the same account.
- Choose which folders to sync locally or keep as cloud-only files.
- Wait for everything to download. This can take a while on slower internet connections.
Storage limits to know: OneDrive gives 5GB free (1TB with a Microsoft 365 subscription). Google Drive gives 15GB free. Dropbox gives 2GB free. If your files exceed your free tier, you can temporarily upgrade, transfer, then cancel.
Method 4: Direct Wi-Fi Transfer (Best for Speed Without Hardware)
Windows has a built-in feature called Nearby sharing that lets you transfer files wirelessly between two PCs on the same network. No USB drive or internet required.
- On both laptops, go to Settings, System, Nearby sharing and turn it on. Set it to "Everyone nearby" for the transfer.
- Connect both laptops to the same Wi-Fi network.
- On your old laptop, right-click a file or folder and select Share.
- Choose your new laptop from the list of nearby devices.
- Accept the transfer on your new laptop.
- Repeat for each batch of files.
Nearby sharing works well for moderate amounts of data. For very large transfers (100GB+), it can be slow over Wi-Fi. A wired USB data-transfer cable (about $15-25) is faster for bulk moves.
Method 5: Migration Software (Best for Everything Including Settings)
If you want to transfer not just files but also settings, app data, and user profiles, dedicated migration software is the way to go.
- PCmover (by Laplink) is the only Microsoft-recommended migration tool. It transfers files, settings, user profiles, and even some installed apps. Paid software ($30-60) but the most comprehensive option.
- Zinstall WinWin is another paid tool that transfers programs, settings, and files. Good UI and reliable results.
- Windows Backup app is Microsoft's free built-in option. Back up your old PC to your Microsoft account, then restore on your new PC during initial setup. Handles app lists, settings, and files synced to OneDrive.
Do Not Forget Your Browser Data
Your browser holds more of your digital life than you might realize: bookmarks, saved passwords, browsing history, extensions, and autofill data. The good news is that all major browsers sync this automatically when you sign in:
- Chrome: sign into your Google account. Everything syncs.
- Firefox: create a Firefox Account (or sign into your existing one). Syncs bookmarks, passwords, open tabs, and extensions.
- Edge: sign into your Microsoft account. Syncs across all your Windows devices automatically.
What About Transferring Software Licenses?
Some software licenses are tied to your Microsoft account and transfer automatically (anything from the Microsoft Store, for example). For other software, you may need to deactivate the license on your old machine and reactivate on the new one. Check each app's settings or website for instructions. Common ones to watch for: Microsoft Office (if not using 365), Adobe apps, VPN subscriptions, and any specialized work software.
After the Transfer: What to Do With Your Old Laptop
Once everything is safely on your new machine, you have a few options for the old one:
- Keep it as a backup machine. Wipe it clean with a Windows reset and keep it for emergencies or travel.
- Give it to a family member. Reset it to factory settings and set it up fresh for them.
- Recycle responsibly. Many electronics retailers and municipalities offer free e-waste recycling. Never throw a laptop in the regular trash.
- Use it as a media server. Install Plex and connect an external hard drive for a DIY streaming setup.
Whichever you choose, always do a full factory reset (Settings, System, Recovery, Reset this PC) and remove your Microsoft account before handing it off. To keep your new machine in top shape, our essential laptop care tips will help it run like new for years.
Quick Reference: Which Transfer Method to Use
| Your Situation | Best Transfer Method |
|---|---|
| Under 32GB of files | USB flash drive (Method 1) |
| 32GB to 500GB | External drive (Method 2) or cloud storage (Method 3) |
| Over 500GB | External SSD (Method 2) |
| Want settings and apps too | Migration software (Method 5) |
| Already using cloud storage | Just sign in on the new laptop (Method 3) |
Upgrading to a New Laptop? Make the Switch Seamless
Transferring files does not need to be an all-day project. Pick the method that matches your data size, follow the steps, and you will be up and running in no time. If you are still deciding on the new machine itself, our guide on how to choose the perfect laptop in 2026 walks through everything to look for.
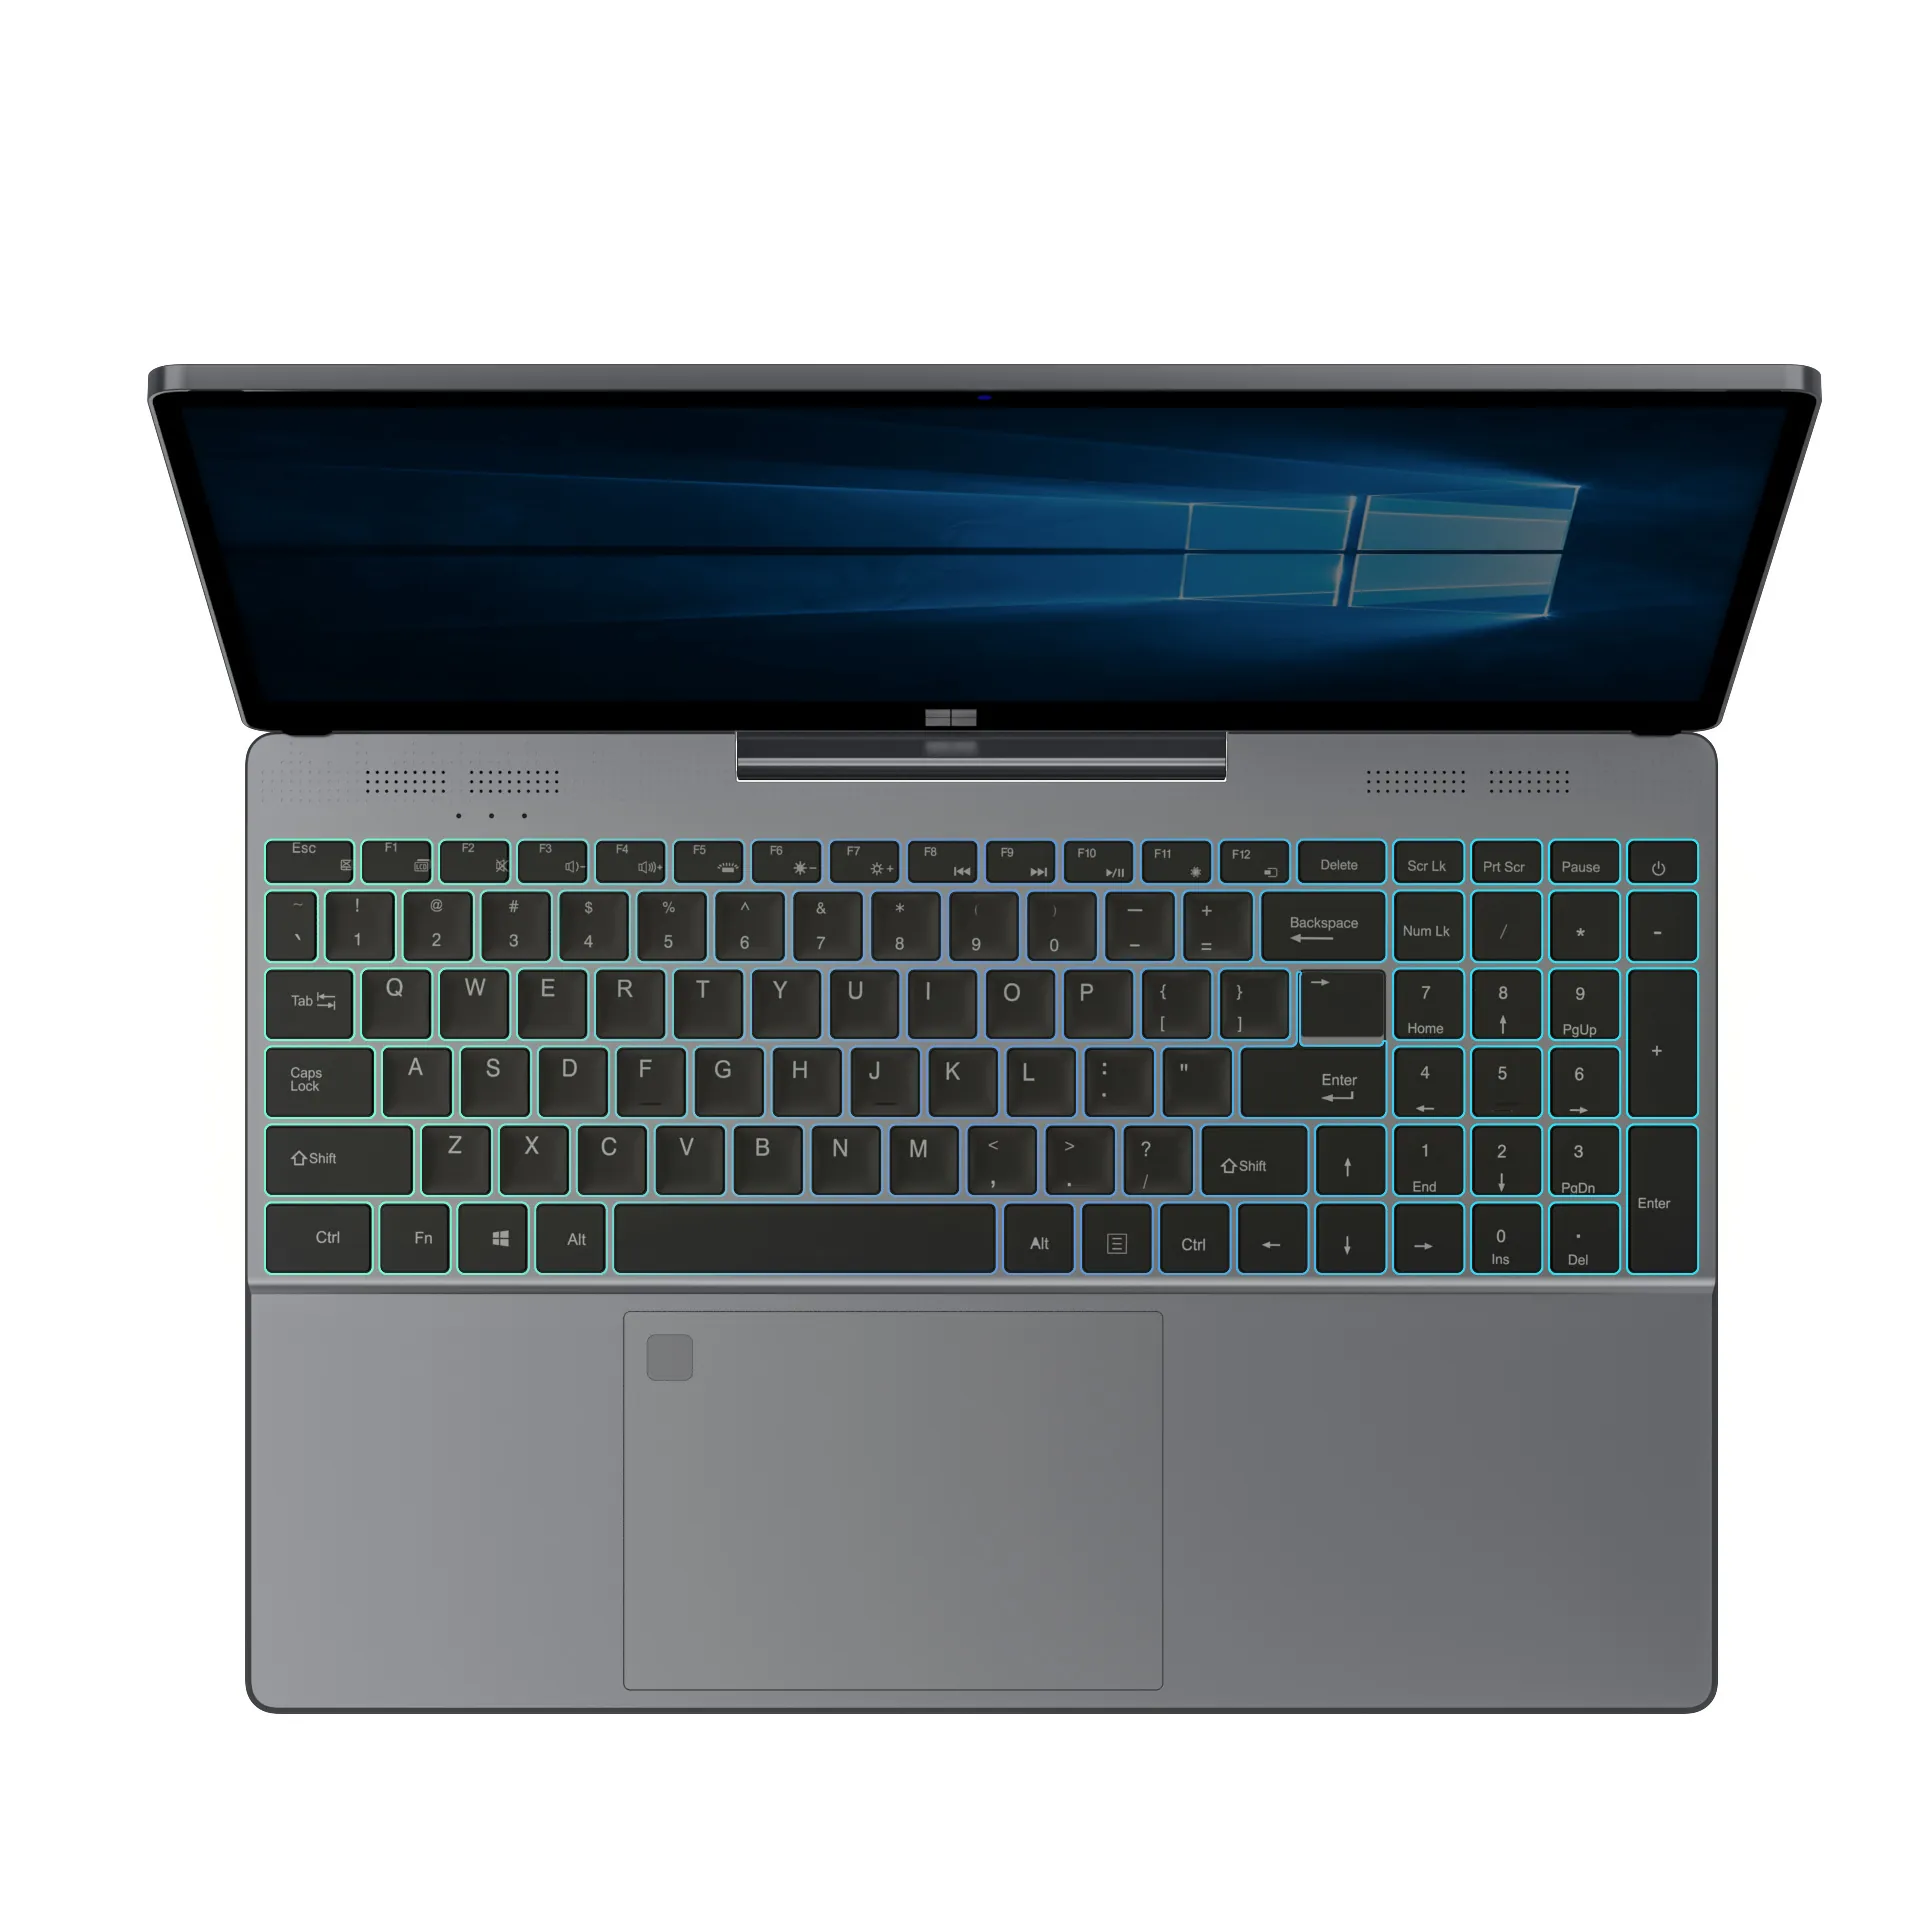
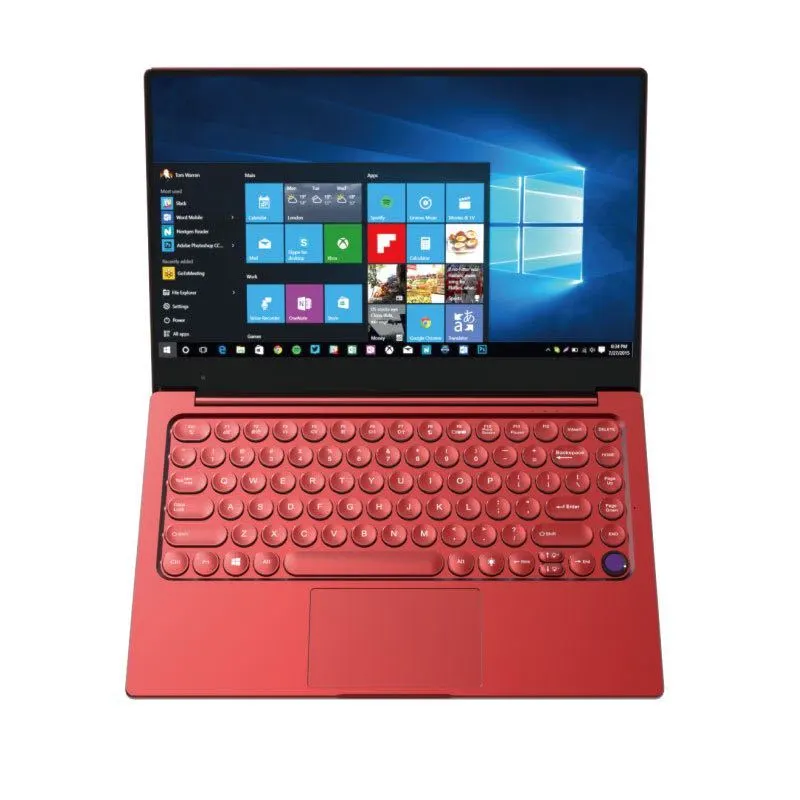
Upgrading to something new? NXTCORE everyday laptops start at just $179 and ship with SSDs that make file transfers and everyday use noticeably faster than older hard-drive machines. The NXTCORE Flex Y156N at $359 pairs a 15.6-inch IPS display with a fast SSD, making it a great upgrade from an aging laptop that is ready for retirement. Want more options first? See our roundup of the best budget laptops for 2026.
Frequently Asked Questions
How do I transfer files from my old laptop to a new one without the internet?
Use a USB flash drive, an external hard drive or SSD, or Windows Nearby sharing over your local Wi-Fi. None of these require an internet connection, and only cloud sync does.
What is the fastest way to transfer large files between laptops?
An external SSD over USB 3.2 is usually fastest, moving data at 500+ MB/s. For 100GB or more, it easily beats Wi-Fi transfer and cloud upload/download.
Can I transfer installed programs to a new laptop?
Most programs need to be reinstalled fresh. Dedicated migration tools like PCmover can move some apps along with your files and settings, but reinstalling from the official source is the most reliable route.
Will my browser bookmarks and passwords transfer automatically?
Yes. Sign into the same account in Chrome, Firefox, or Edge on the new laptop and your bookmarks, saved passwords, and extensions sync across automatically.
Do NXTCORE laptops make file transfers faster?
They help. Every model in the NXTCORE lineup ships with an SSD (the range spans $179 to $899, averaging about $396), and SSD read/write speeds make copying files and booting up noticeably quicker than an older hard-drive laptop.